From Mood Board to Manicure: A Repeatable Nail Design Workflow
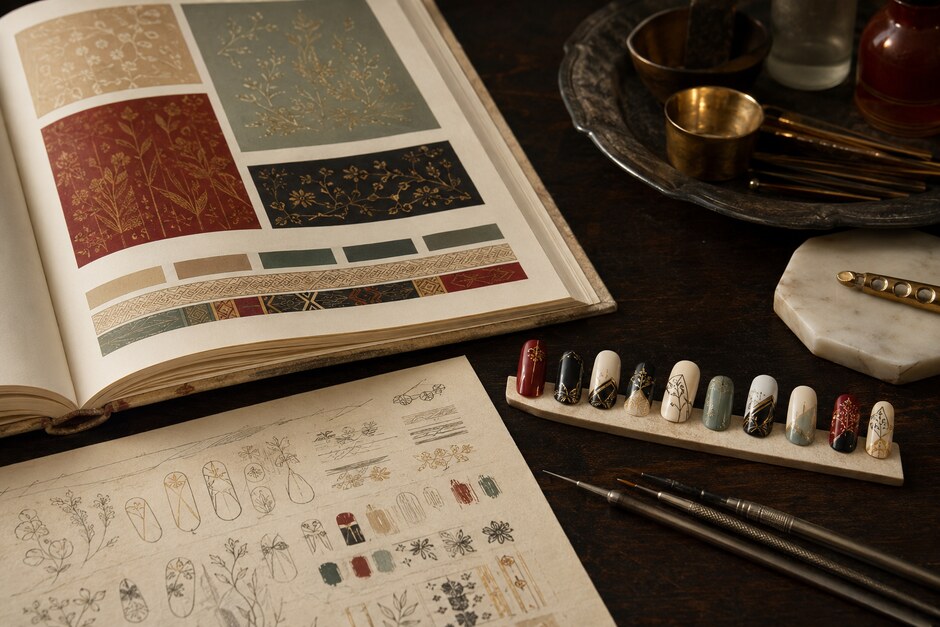
A mood board can make a nail idea feel complete before a single tip has been painted. The colors look harmonious, the references share a mood, and every image seems useful. The difficulty begins when those references must become ten small, curved designs. A repeatable workflow closes that gap by converting atmosphere into a limited palette, a shape language, test tips, and an application sequence.
The process below works with a digital board or a physical page. Its purpose is not to copy the references. It is to extract a few decisions that can survive at nail scale.
1. Define the board in one sentence
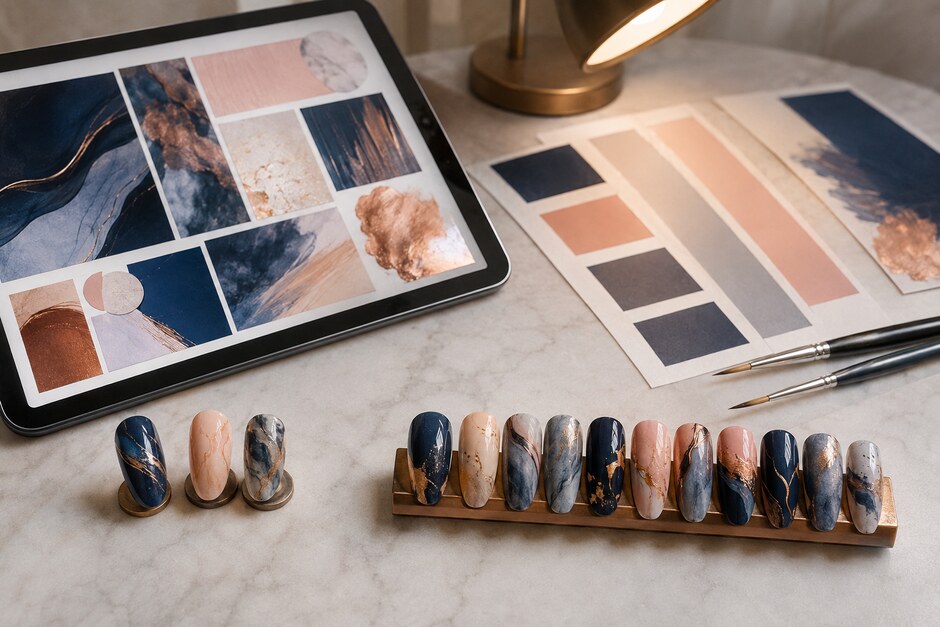
Collect six to nine references, then write what they share: “cool mineral surfaces with thin copper fractures,” or “soft summer fabric with irregular navy checks.” If the images cannot be connected in one sentence, the board probably contains more than one direction.
Remove any reference that contributes only a beautiful subject but no useful color, texture, line, or spacing idea. A smaller board creates clearer decisions.
2. Extract color by proportion
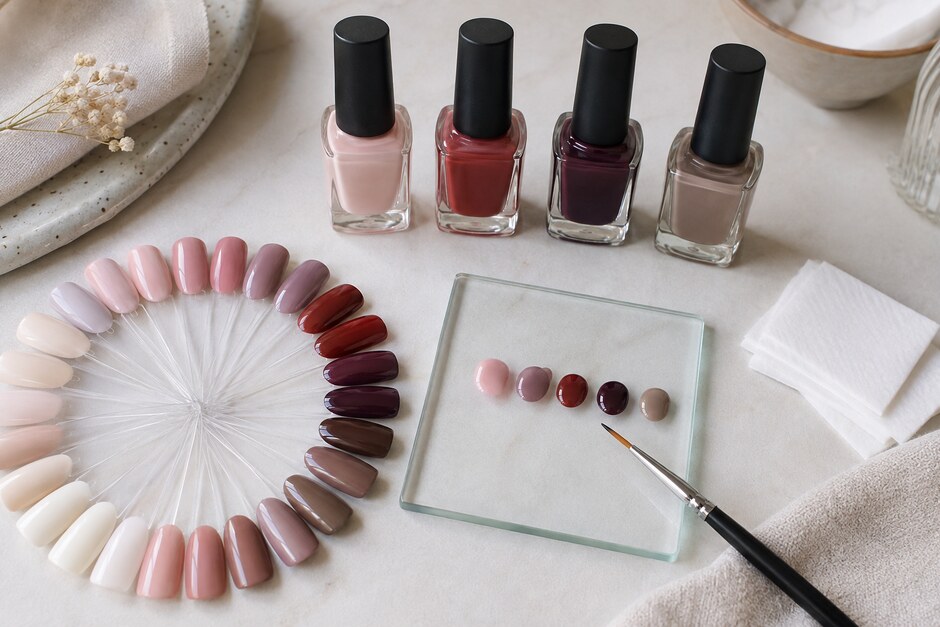
Choose three core colors and one optional accent. Record not only which colors appear, but how much of each the board uses. A palette may be mostly cream and navy with a tiny copper highlight. Applying equal amounts of all three would change the mood completely.
Swatch the actual products because screens do not represent opacity or undertone reliably. Check the colors under more than one light source and confirm that the formulas and finishes are compatible with the planned system.
3. Reduce references to a shape language
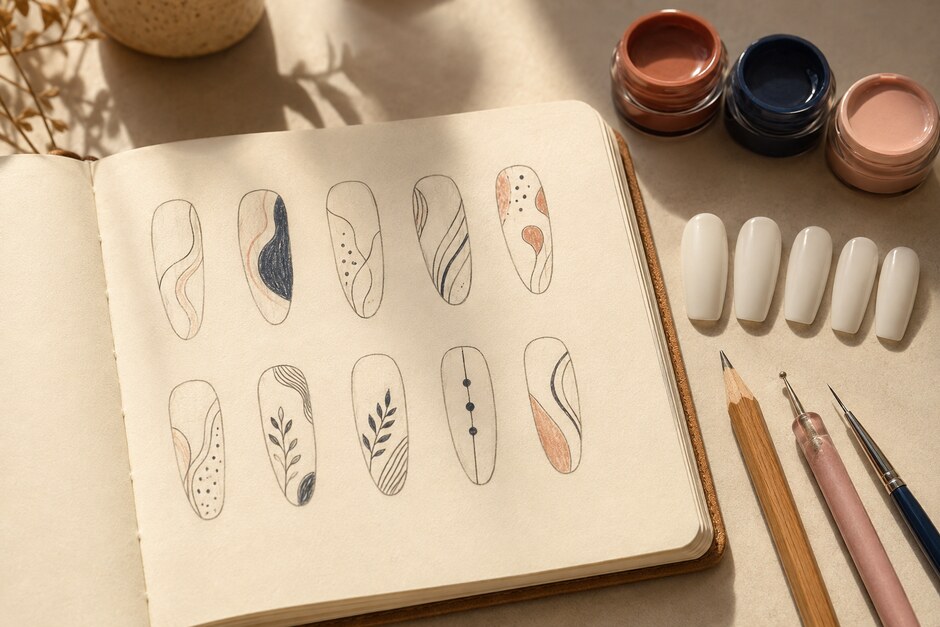
Identify two or three recurring forms: soft arcs, torn edges, fine grids, marbled veins, dots, wide bands, or empty windows. Draw each form as a simple black shape. This removes surface detail and shows whether it can be painted clearly on a nail.
Choose one main motif and one supporting mark. More motifs can be added later only if the ten-nail map genuinely needs them. Starting with a small vocabulary keeps the set related.
4. Make technique tests separately
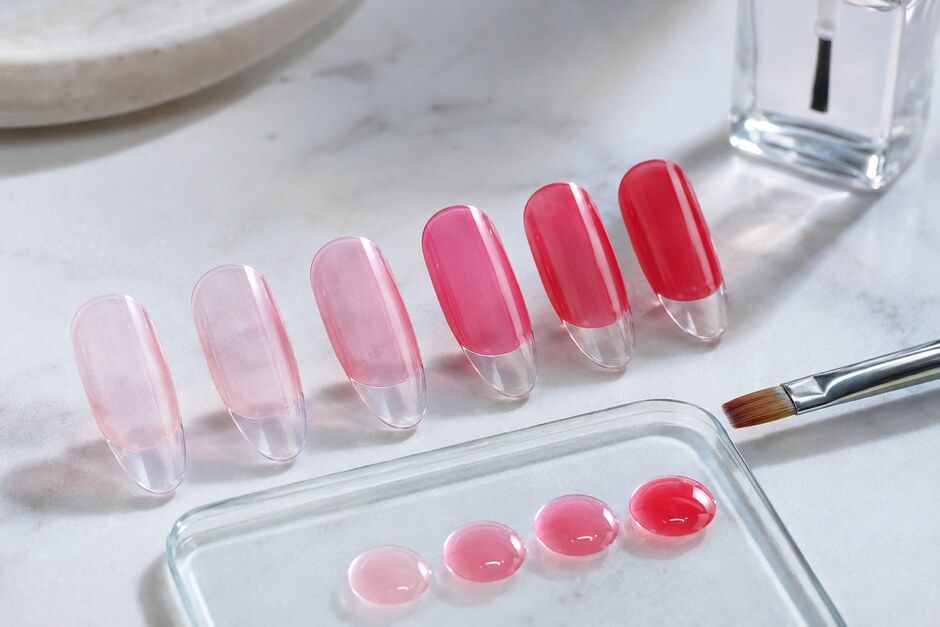
Use display tips to test the unfamiliar step: a thin liner curve, blooming layer, metallic transfer, matte contrast, or translucent overlap. Record the tool, product order, coat count, and timing required by the manufacturer.
A successful test is repeatable, not merely attractive once. Make the effect twice. If the second version requires luck, simplify it before building the final set around it.
5. Map all ten nails
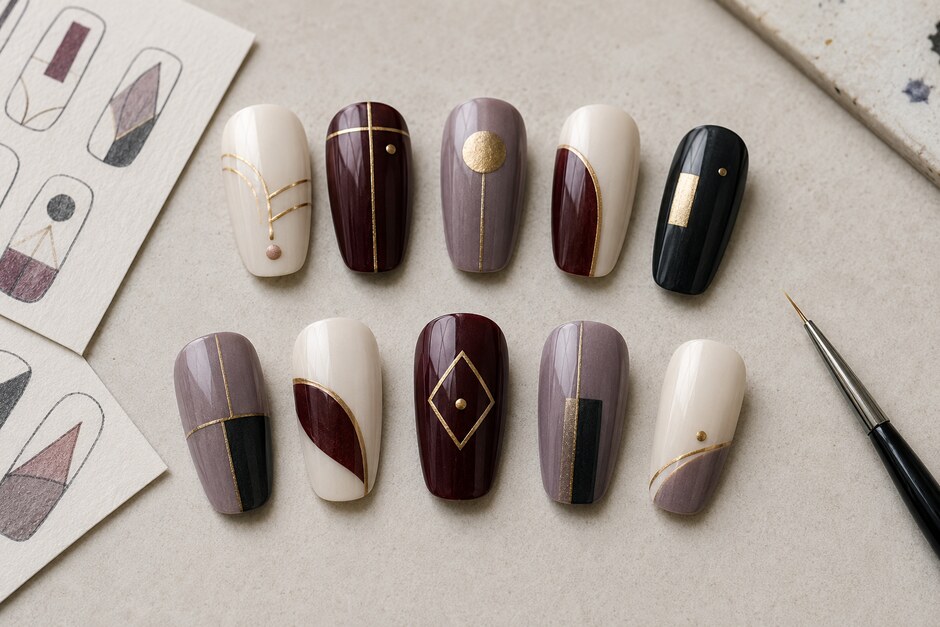
Draw two rows of five nail shapes and assign quiet, supporting, and focal roles. Distribute the palette according to the proportions extracted earlier. Repeat the main motif with changes in size and crop. Place the accent color in two or three connected moments rather than scattering it randomly.
View the map upside down and in grayscale. The composition should still show a clear rhythm and value hierarchy without the emotional pull of color.
6. Write the application sequence
Organize the manicure by shared steps rather than finishing one nail at a time. A typical order might be preparation, base, main color fields, repeated motif, focal detail, cleanup, and finish. Working by stage improves consistency because the same line weight or color mixture is applied across the set in one session.
Protect time for the difficult step. If the focal design needs concentration, complete it before fatigue and before small cleanup tasks begin to interrupt the rhythm.
7. Compare the result with the brief
Photograph the finished set in neutral light. Do not ask whether it matches every reference. Ask whether it still expresses the sentence written at the start. If the board promised quiet mineral surfaces but the result feels busy, the problem is likely proportion or motif density rather than technical accuracy.
Save the board, swatches, ten-nail map, and one final photograph together. Add two notes: what translated well, and what was lost between screen and nail. Those observations turn a single manicure into a process you can reuse.
A strong workflow does not remove experimentation. It gives each experiment a stage, so inspiration, testing, composition, and application are not competing for attention at the same time.