The Ten-Minute Nail Sketchbook: Plan a Cohesive Set Before Painting
Many nail designs become complicated after the first attractive idea. A flower, chrome line, tortoiseshell panel, and gemstone accent can each work alone, yet compete when placed across ten nails. A short sketchbook session lets you solve that problem before product is on the brush. You do not need polished illustration skills. The page is a rehearsal for distribution, scale, and rhythm.
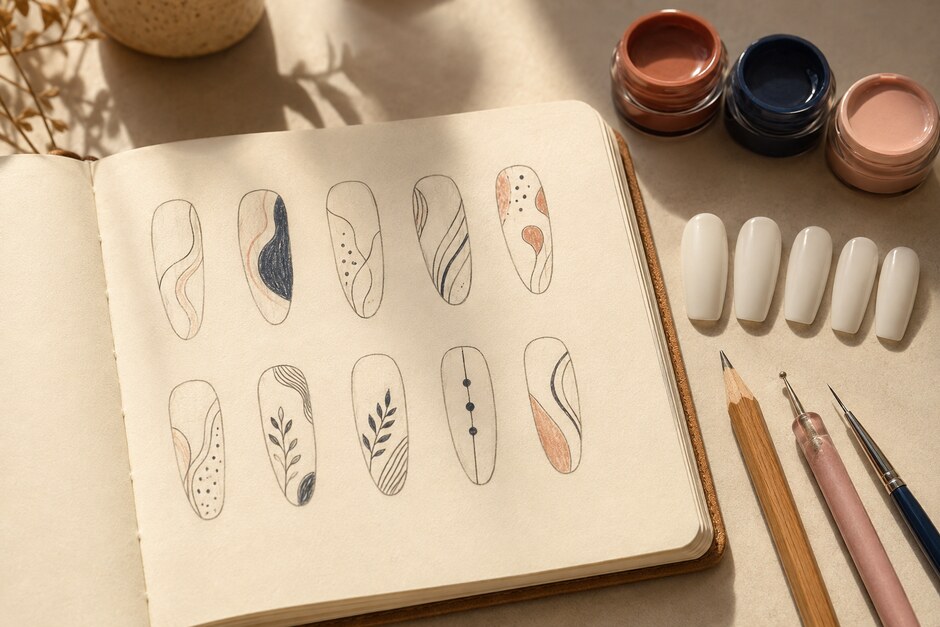
Ten minutes is enough when the template is prepared in advance. Draw or print two rows of five simple nail shapes and keep a pencil, black pen, and three color markers nearby.
Minute one: write the design sentence
Describe the intended set in one line: “soft translucent base with two dark curved accents,” or “warm retro geometry with one metallic interruption.” The sentence should name the mood and the main visual rule. It prevents the design from expanding every time a new reference appears.
Add one practical constraint. You might limit the palette to three colors, use only liner-brush marks, or keep six nails mostly open. A useful constraint creates consistency without requiring every nail to match.
Minutes two and three: place the largest color areas
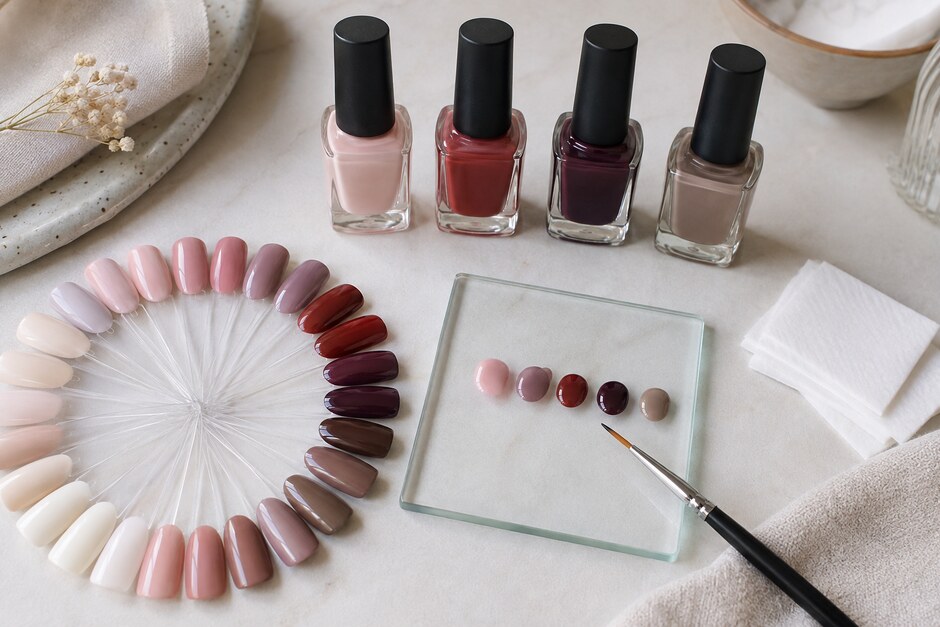
Fill each drawn nail with broad color blocks. Ignore tiny details. Decide which nails are light, dark, sheer, or fully covered. Look at both rows together rather than designing one finger at a time.
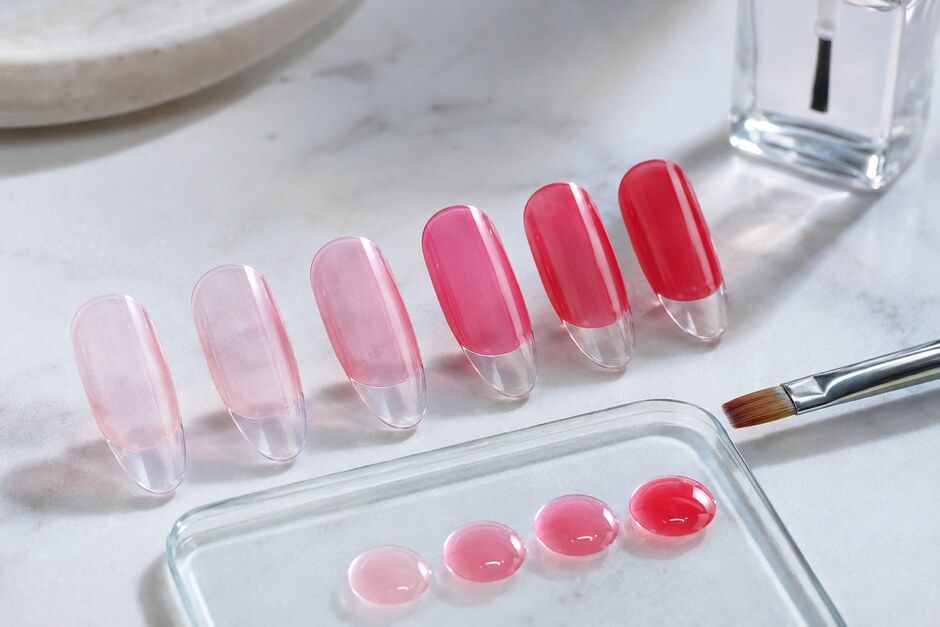
If the darkest value appears only once, the eye may stick there. Repeat a smaller amount elsewhere to connect the set. If every nail is equally busy, reserve two or three quieter nails. Their simplicity makes the detailed nails easier to see.
Minutes four to six: repeat a motif with variation
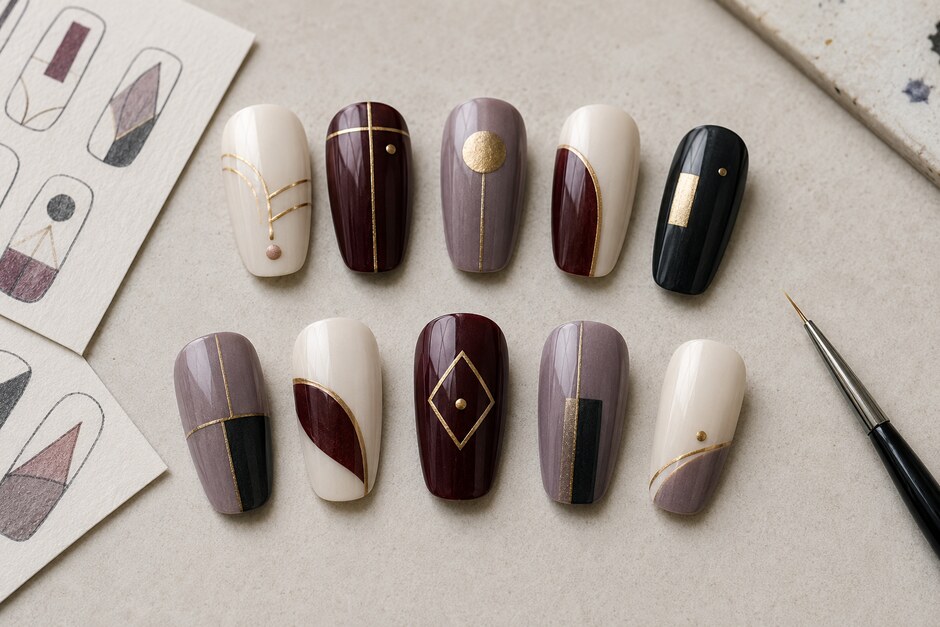
Choose one shape family: curves, dots, narrow frames, angled tips, petals, checks, or broken lines. Repeat it at least three times, but change scale, direction, or crop. One nail may show the whole motif, another only its edge, and a third a miniature version.
Variation keeps the set from looking like ten identical stickers. Repetition keeps it from looking like ten unrelated samples. The sketchbook makes the balance visible immediately.
Minutes seven and eight: choose a focal pair
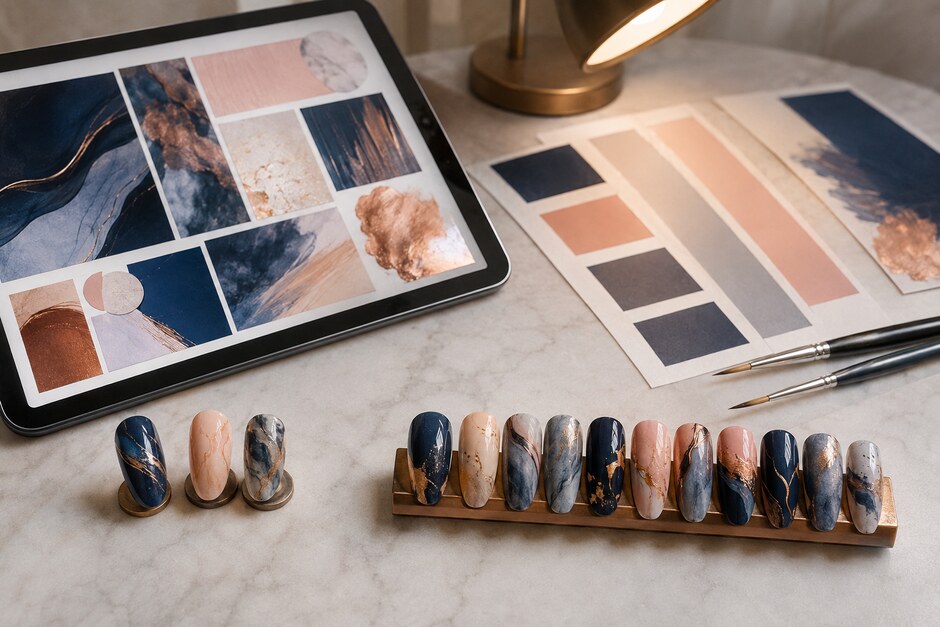
A focal nail carries the strongest contrast, densest detail, or most unusual finish. Two focal moments often balance a set better than one. They do not have to sit on matching fingers. Try a diagonal relationship between hands or place the second accent one finger away from perfect symmetry.
Mark the focal pair with a circle outside the template. Then reduce nearby details so the emphasis remains clear. Adding more is not the only way to create importance; simplifying the neighbors is usually faster.
Minute nine: perform the distance test
Place the sketchbook on the table and step back. At a glance, can you see a repeated color and a repeated motif? Does one area dominate the whole plan? Turn the page upside down. This removes finger names from your thinking and reveals the design as a pure pattern.
If the set feels lopsided, move one dark shape or accent line rather than redesigning everything. Small distribution changes often restore balance.
Minute ten: create the application order
Write a short sequence beside the sketch: base, large blocks, repeated motif, focal details, cleanup, finish. The order matters because fine details can be damaged by later corrections. If the design uses gel, lacquer, chrome, foil, or another system, follow the relevant manufacturer instructions and keep uncured or wet product off the skin.
Note which step deserves a test tip. A new blooming effect or unfamiliar pigment should be rehearsed separately rather than discovered halfway through the final set.
Review the page after application
Photograph the finished set and compare it with the sketch. Circle one planned decision that worked and write one change made during application. Perhaps the line needed to be thicker, the accent color needed a second appearance, or a busy nail looked better simplified.
Over time, these pages become a design archive rather than a gallery of perfect drawings. They show which layouts survive the move from paper to curved nail surfaces—and make the next ten-minute plan much more precise.